Layout Editor
Introduction
The layout of each module can be fully customised in a way that best works for you.
The module’s entity cards, meaning e.g. a single account’s information on the Accounts module, consist of blocks and fields in them. You can edit edit, add, hide and remove the fields, and additionally, change their grouping and order in blocks. This way the information of the entities can be presented efficiently.
There are two kinds of fields: permanent and custom fields. The permanent fields are default fields in the CRM and they cannot be permanently removed. You can hide most of these fields, if there is no need for them. However, some of the permanent fields are vital to the module and its functioning, and can’t therefore be hidden.
Custom fields can be created by the system admin users and they can always be edited, hidden and removed. Custom fields can be identified by the paper clip icons ![]() .
.
You can only modify the main view of the entities with the layout editor. For more information about customising the entities’ More Information tab (and other possible tabs), see the guides Editing and Dividing the More Information Tab and Related Lists.
Customising the Blocks
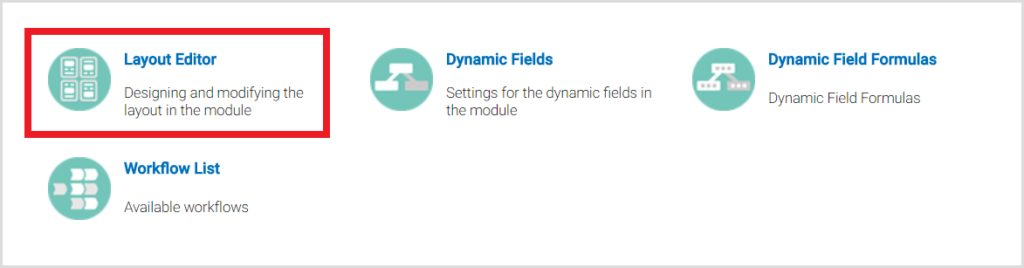
You can modify the layout of the module by clicking the Settings button ![]() in the module and selecting Layout Editor in the next view (see the picture below).
in the module and selecting Layout Editor in the next view (see the picture below).
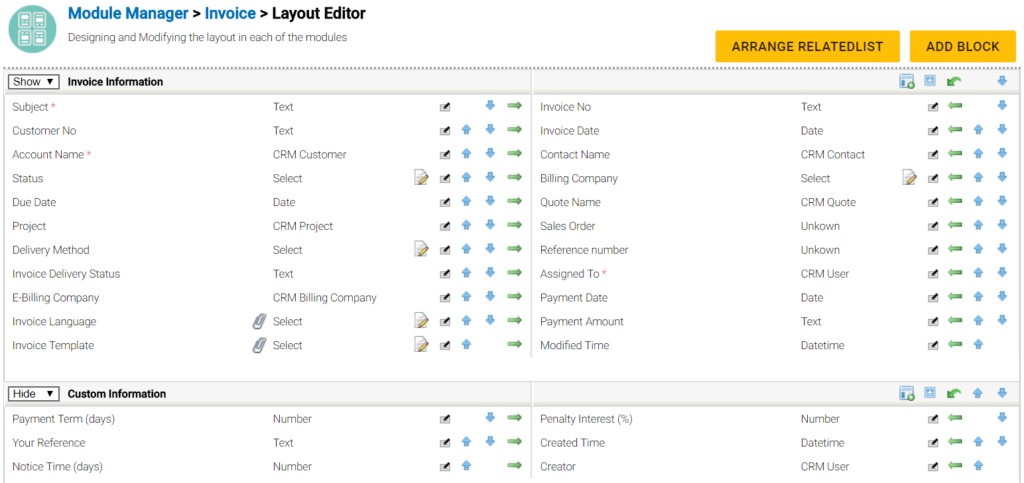
In the picture below, there is an example of the layout editor of the Invoices module. The layout editor presents all the module’s blocks and fields in them. You can create a new block with the Add Block button at the top right corner.
Blocks you have created yourself can also be deleted with the Delete button ![]() . Only an empty block can be deleted, so all the fields in a block must be deleted or moved to another block before it can be deleted.
. Only an empty block can be deleted, so all the fields in a block must be deleted or moved to another block before it can be deleted.
You can change the order of the blocks with the arrow buttons ![]() at the right-hand edge of the block. The other buttons concern the fields in the block:
at the right-hand edge of the block. The other buttons concern the fields in the block:
- With the Move Fields button
 , you can move fields from another block to that one.
 - With the Create Custom Field button
 , a new field is created (more information further below).
 - With the Hidden Fields button
 , you can see and restore fields that are hidden.
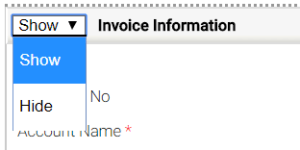
There is also a picklist before the block header (see the picture below), with which you can choose whether the block’s fields are shown or hidden by default on the entity card. If the fields are hidden, only the block header is shown by default, and you can see the fields only after clicking the block header.
Creating a New Field
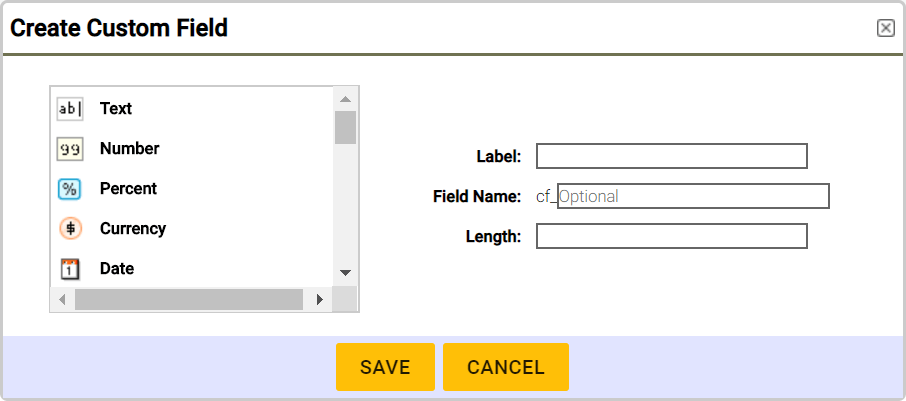
With the block’s Create Custom Field button  you can create whole new fields. First, you’ll need to select a field type (text, number, percent, currency, date, email, phone, etc.) and then determine the field’s label. Depending on the field type, the field might require other information as well, like length or decimal places.
NB. If there are multiple active languages in the system, it is good to take a notice that the label of a new field is the same for all the languages. If necessary, you can translate the label in Field Translations.
If you wish to do so, you can also determine the end part of the field name. The field name means the technical name of the field, which is used in e.g. dynamic field formulas and parameters of module tools (for more information, see the guides Dynamic Field Formulas and Module Tool Parameters and Settings). Therefore it will not be shown in the module, as opposed to the field label. The field name always starts with cf_. It is recommended that you write the end part of the field name without any blank spaces or special signs. If you choose not to determine an ending for the field name, the system will generate a four-digit number sequence.
All the field types and the information they require are listed below:
| Text | Requires maximum length (max. 255 characters) |
| Number | Requires maximum length (max. 64 characters), decimal places (i.e. how many decimals are shown) and information whether negative numbers are allowed |
| Percent | |
| Currency | Requires maximum length (max. 64 characters), decimal places (i.e. how many decimals are shown) and information, whether negative numbers are allowed |
| Date | |
| Phone | |
| Picklist | Requires maximum length (max. 255 characters) and information, whether a whole new picklist is created, or an existing one is copied |
| URL | |
| Checkbox | |
| Text Area | Requires information, whether the field should use full width |
| Multi-Select Combo Box | Requires information, whether a whole new picklist is created, or an existing one is copied |
| Skype | |
| User Multiselect | |
| Product Select | |
| Account Select | |
| Contact Select | |
| User Select | |
| Discussion | |
| Lead select |
Field Properties
You can arrange the fields inside a block with the arrow buttons at the end of the row. Fields are always created to one block, but you can also move them from a block to another (see “Customising the Blocks” section above).
With the Edit Properties button  , as the name indicates, you can edit the properties of the field. Through this button, you can also hide or delete the field, if that can be done to the field in question.
You can determine at least the following propertied (see also the picture below):
- Mandatory field – Prevents saving the entity, if the field is empty.
- Active – Shows the field on entity cards: by unchecking this option, you can hide the field.
- Mass edit – Allows editing the field in mass edit.
- Read only – Prevents editing the field manually. The field is only readable (NB! The option “Show in detail view only” below needs to be deactivated to activate this functionality).
- Show in detail view only – the field is only readable and shown only when not in edit mode.
- Field has help text – inserts a small info icon next to the field. You can determine the help text shown after saving the properties by clicking the info icon that appears on the row.
- Disable quick edit – the field can be edited only in the edit mode.
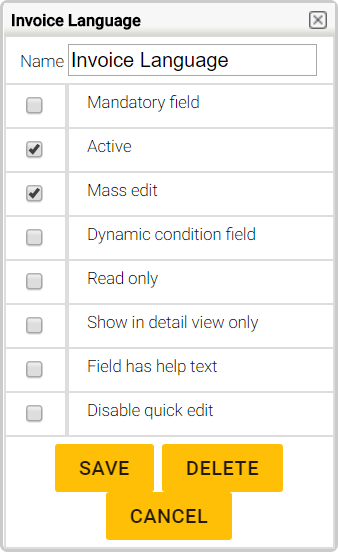
If the field is a custom field, you can also edit the name of the field. Custom fields also have a Delete button in the bottom of the editing window and using this button will delete the field from the whole system.
If the type of the field is either picklist or checkbox, there is also a “Dynamic Condition Field” option (for more information, see the guide Dynamic Fields).